
At Google I/O 2013 was launched a new Android development tool. Android Studio is the new environment based on IntelliJ IDEA. This tool is very similar to Eclipe with ADT Plugin provides integrated Android developer tools for development and debugging.
First Step with Android Studio
To install Android Studio you must have Java JDK installed on your machine. You can download free from Oracle website. The next step is downloading Android Studio.
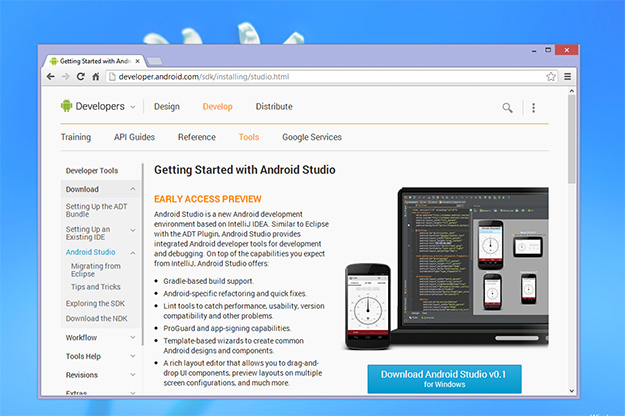
Android Studio v0.1
| PLATFORM | PACKAGE | SIZE |
|---|---|---|
| Windows | android-studio-bundle-130.677228-windows.exe | 382109250 bytes |
| Mac OS X | android-studio-bundle-130.677228-mac.dmg | 371607412 bytes |
| Linux | android-studio-bundle-130.677228-linux.tgz | 400487529 bytes |
Install Android Studio
Be sure that first you have installed JAVA SDK first. Launch the AS setup and follow the screen wizard guide.
How to create your First Android App
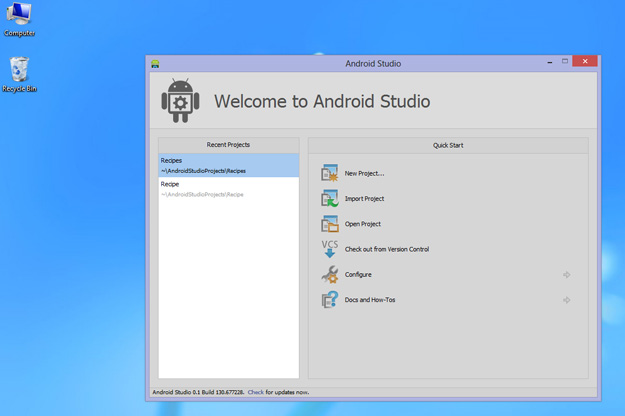
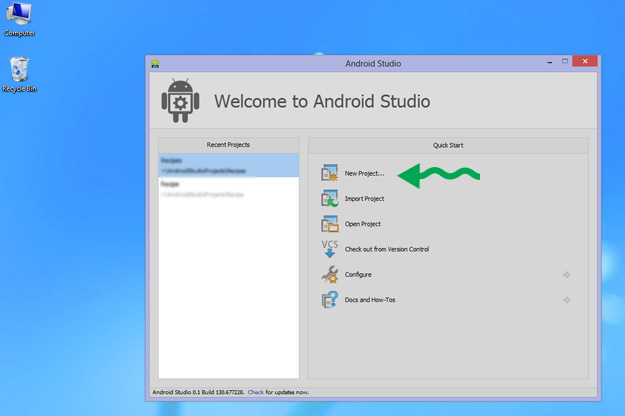
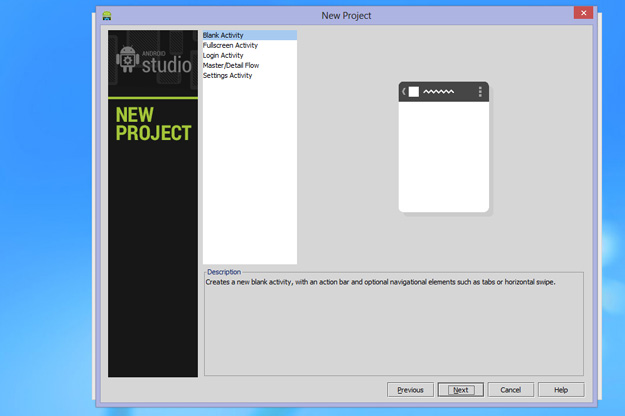
Launch the Android Studio and click on New Project.
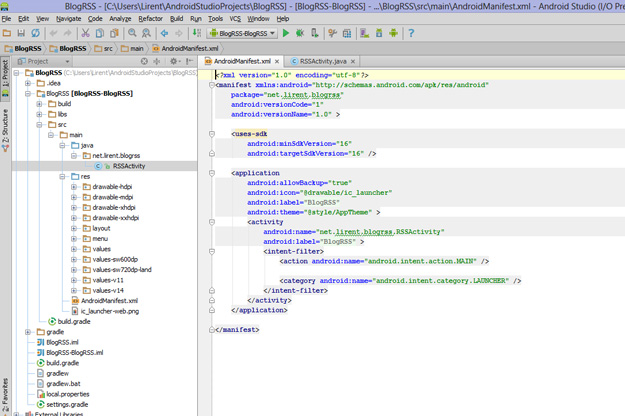
On next screen you have to fill information for Application Name, Module Name, Package for your project and others settings you can leave as it is.
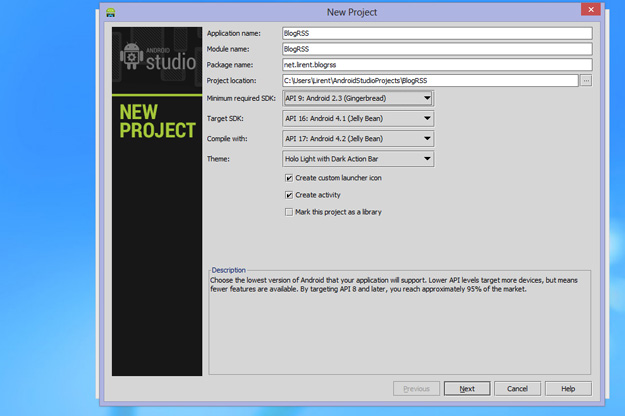
Select Blank Activity for this Demo App.
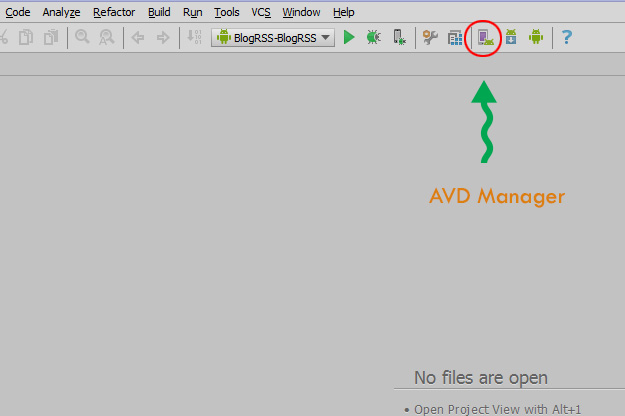
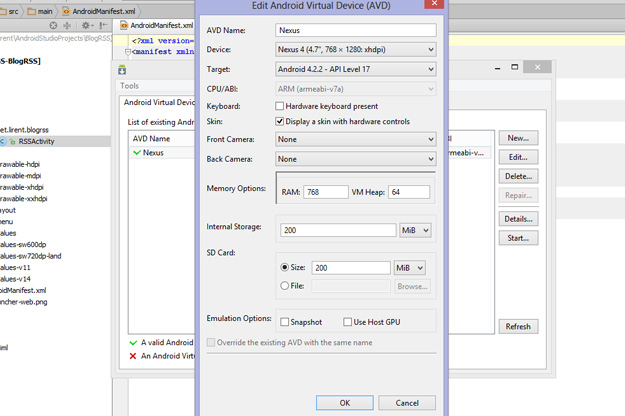
Add Virtual Android Device
Fill the information as shown on the image below.
Final Step – Test it!
After you have created your emulator, click on run the app from the top menu.
Check logs for any error:
Installing net.lirent.blogrss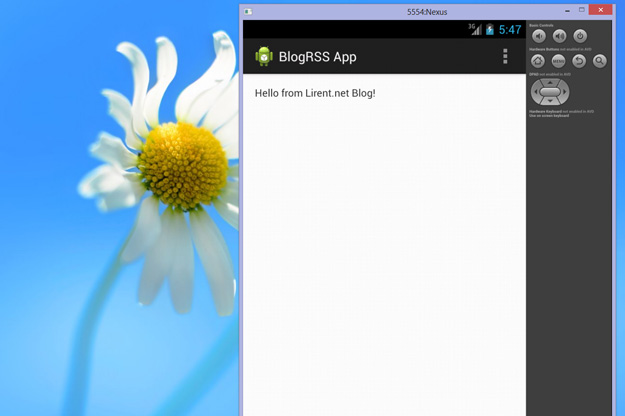
Không có nhận xét nào:
Đăng nhận xét